MEGR 3090: Design Webpage
By: Joseph Petite
LESSONS LEARNED
-
The main thing I learned throughout this project was how to utilize my previous 3D modeling experience with Fusion 360 in order to create a part.
-
The second thing I learned through this assignment was how to open and assemble multiple parts saved in different files locations in Fusion 360.
-
Another thing I learned through this project was how to set up MakerBot and how to start and modify a 3D printing process over the internet.
-
The last thing I learned throughout this assignment is that the MakerBot printers tend to have issues with vertically formed holes, causing infill pockets, unintended chamfers and misplaced filament.
3D MODELING PROCESS
(FIRST DESIGN)
Creating New Part File for the Bottom of the Chassis

Changing Dimensional Units to Inches

First Sketch

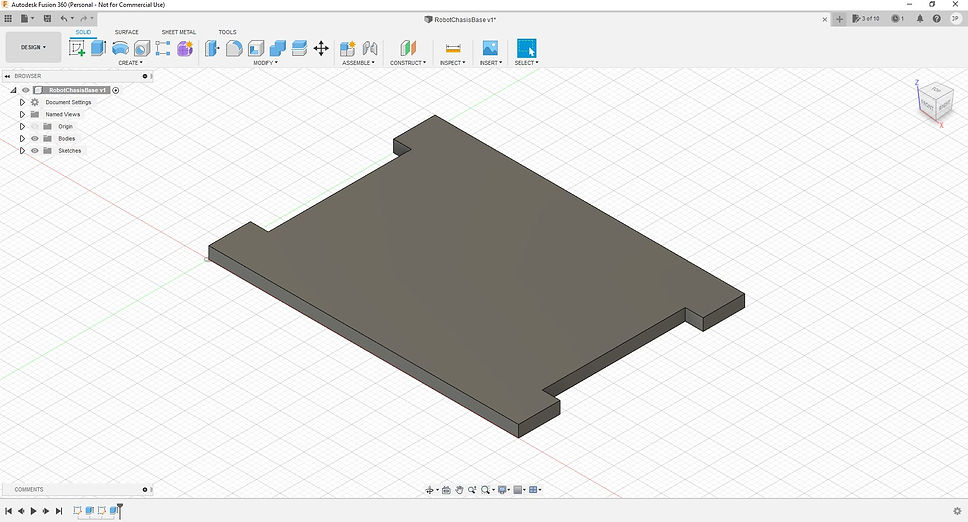
First Extrude

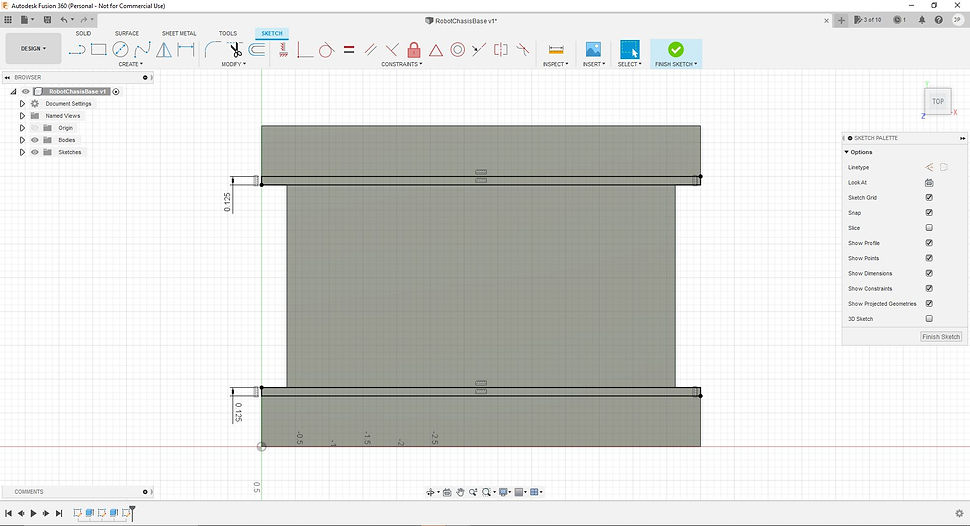
Second Sketch

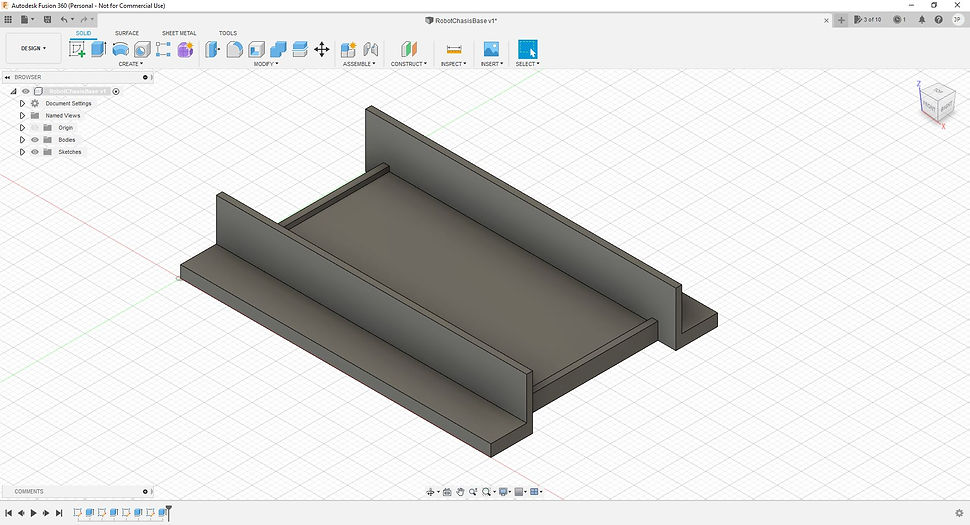
Second Extrude
Third Sketch
Third Extrude

Fourth Sketch

Fourth Extrude
Fifth Sketch

Fifth Extrude

Sixth Sketch

Sixth Extrude

Seventh Sketch

Seventh Extrude

Eighth Sketch

Eighth Extrude

3D PRINTING

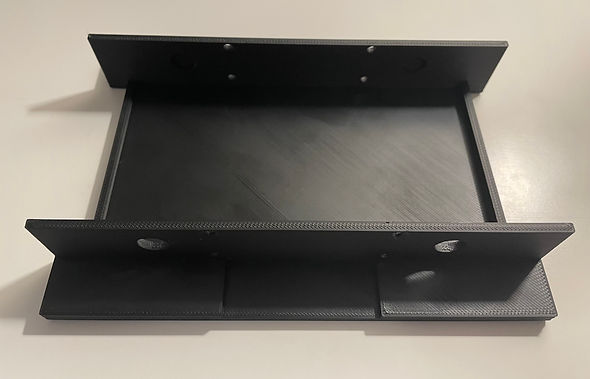

Many of the holes I planned to utilize in order to secure the DC motors to the side of the chassis where not oddly shaped and contained concaved sides. Due to this the screws I planned to utilize were unable to securely self tap into the plastic. Instead the screws were capable of pivoting in some of the directions in which flaws existed. Dr. Raquet stated this was a issue with the MakerBots printers and the infill, for reasons unknown, contain infill pockets. In addition, these holes were far closer to the edges than I had expected, causing worry for the integrity of the chassis. For these reasons I decided to alter the position of these holes slightly and try a different support filament type.

For reasons unknown to me or Dr. Raquet all of the holes on one side of the second chassis were half filled with model grade filament. Despite being correct in both Fusion 360, STL files and on the MakerBot print preview the 3D printer switched from support filament to model grade filament half way through the printing process for the holes. I attempted to remove this excess filament by scouring the sides of the holes and adding pressure but instead of breaking along these scouring lines the filament fractured along the direction of layering rendering the chassis useless. Due to the ill results of attempting to 3D print vertical holes with these types of printers I decided to completely redesign my chassis for Phase 2.